Ingredients:
- 1 cup Basmati rice
- 4 cups full-fat milk
- 1/2 cup sugar
- 1/4 tsp cardamom powder
- 2 tbsp ghee (clarified butter)
- 1/4 cup chopped nuts (almonds, pistachios, cashews)
- A pinch of saffron strands (optional)
Instructions:
- Rinse the Rice: Wash the Basmati rice in water until it runs clear. Soak for 30 minutes.
- Boil the Milk: In a heavy-bottomed pan, bring the milk to a boil over medium heat.
- Cook the Rice: Drain the soaked rice and add it to the boiling milk. Reduce the heat and cook until the rice is soft (about 20 minutes).
- Add Sugar: Stir in the sugar and continue to cook for another 10 minutes, stirring occasionally.
- Flavor with Cardamom: Add cardamom powder and saffron strands (if using) and mix well.
- Garnish: In a separate pan, heat ghee and fry the chopped nuts until golden. Add them to the Kheer.
- Serve: Let it cool or serve warm. Enjoy!
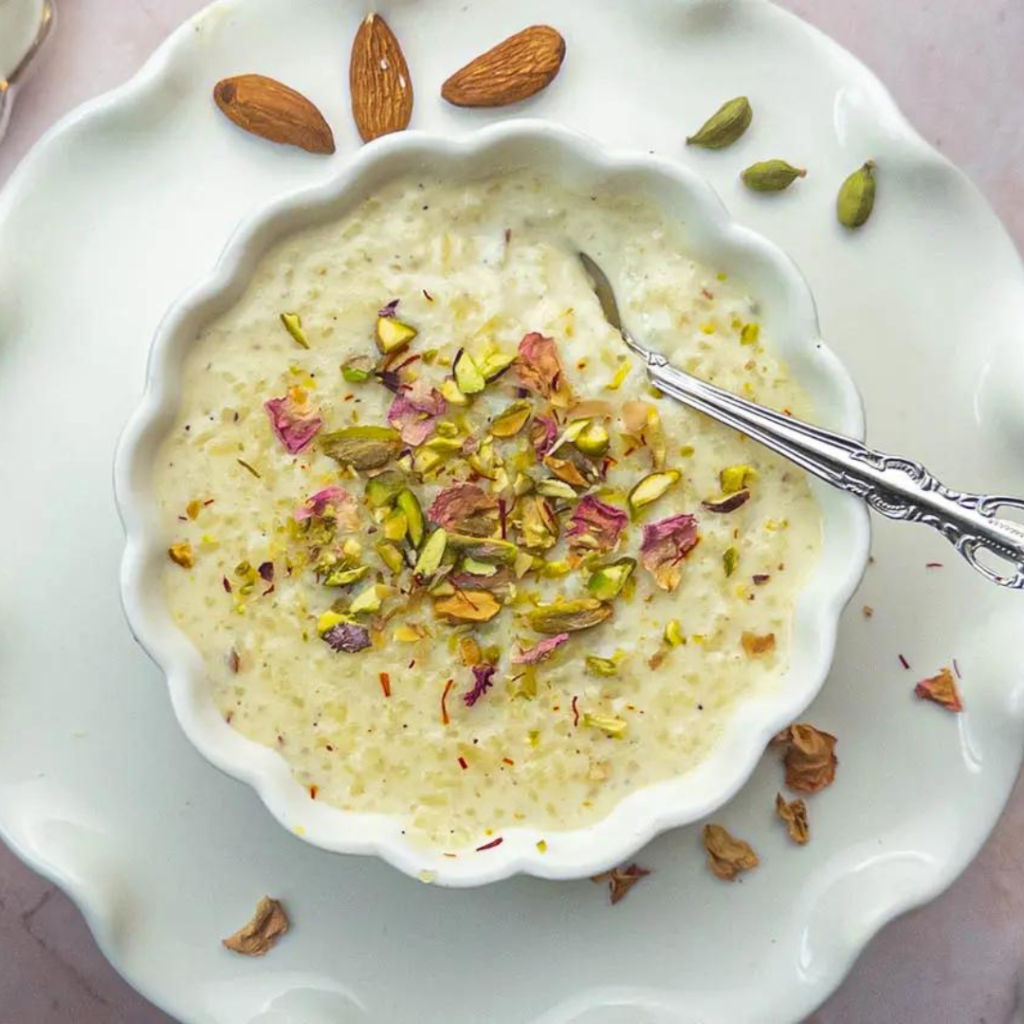
Kheer is a classic Indian dessert, loved for its rich, creamy texture and delicious flavors. It’s often served during festivals, celebrations, or special occasions, but its simplicity and indulgence make it a dish worth enjoying any time of the year. In this blog, we’ll dive into everything that makes kheer a favorite, how to perfect it, and what sets it apart from other desserts. Plus, we’ll cover tips to elevate your kheer-making skills and answer some frequently asked questions.
Why Kheer is the Perfect Dessert
Kheer stands out as a favorite for many reasons:
-
Versatile Ingredients: Kheer can be made with simple, easily available ingredients like rice, milk, and sugar. The magic comes from the combination of these simple components into a creamy, flavorful dessert.
-
Customizable Flavors: You can enhance your kheer with a variety of add-ons such as saffron, cardamom, nuts, and raisins. Whether you prefer it nutty, fragrant, or rich with condensed milk, there’s a kheer variation for everyone.
-
Rich and Creamy Texture: When made properly, kheer achieves the perfect consistency—thick, creamy, and smooth. This makes it an indulgent dish that feels luxurious with every bite.
-
A Healthy Twist: Despite being a dessert, kheer can be packed with health benefits. Milk provides calcium, while ingredients like almonds, cashews, and raisins bring additional nutrients like fiber, vitamins, and antioxidants.
-
A Dessert for All Seasons: Kheer can be served warm in the winter or chilled during the summer. It’s this flexibility that allows it to be enjoyed all year round.
How to Make Your Kheer Creamier and More Delicious
Here are some expert tips to make your kheer stand out:
1. Slow and Steady Cooking
The key to achieving that rich, creamy texture is patience. Simmer the milk slowly on a low flame, stirring continuously to prevent it from sticking or burning. The longer you cook the kheer, the creamier it will get.
2. Choose Quality Ingredients
High-quality basmati rice and full-fat milk work best for kheer. The basmati rice gives a beautiful aroma, while full-fat milk ensures a rich consistency.
3. Enhance with Saffron and Cardamom
For that royal touch, add saffron strands and a pinch of ground cardamom. Saffron not only imparts a delicate fragrance but also gives the kheer a light golden hue, making it even more inviting.
4. Roast Nuts for Extra Crunch
Adding roasted almonds, cashews, and pistachios adds a delightful crunch to the creamy dessert. Lightly roast the nuts in ghee for a richer flavor and better texture contrast.
5. Sweeten it Right
Instead of just using plain sugar, you can experiment with other sweeteners like condensed milk, jaggery, or even a mix of both. This will deepen the flavor and add complexity to your kheer.
6. Perfect Consistency
The consistency of kheer should be neither too thick nor too runny. A good trick is to stop cooking it just before you reach your desired thickness, as the kheer will continue to thicken as it cools down.
Kheer is traditionally made from rice, milk, and sugar, often enhanced with spices like cardamom and saffron. Additional ingredients like nuts and raisins can also be included for added flavor and texture.
Yes! While rice is the most common grain used in kheer, other grains like broken wheat, quinoa, and even vermicelli (in a variation called seviyan kheer) can be used.
Absolutely. You can substitute the dairy milk with almond milk, coconut milk, or any other plant-based milk to make vegan kheer. Use jaggery or coconut sugar as a sweetener to keep it plant-based.
Kheer can be stored in the refrigerator for up to 2-3 days. It’s best served fresh, but it can be reheated with a bit of milk to bring it back to the desired consistency.
Yes, the traditional kheer made with rice and milk is naturally gluten-free, making it an excellent option for those with gluten sensitivities.
Kheer is more than just a dessert—it’s a beloved part of Indian culinary tradition. Whether you’re making it for a special occasion or just to satisfy your sweet cravings, the tips in this blog will help you make a delicious and creamy kheer every time. Experiment with ingredients, follow the steps closely, and soon you’ll master the art of making the perfect kheer!